The following are some general guidelines to help you set up your turntable and play vinyl records correctly. Follow these guidelines and avoid damaging your record player or vinyl records.
1. Plastic Dust Cover
The first step is to remove the turntable's dust cover (if it has one).
Most models include a plastic dust cover that protects the platter and other components from dust, dirt, and other debris that can cause the turntable to skip and negatively impact performance. If your model has a hinged lid, lift it to place the record on the platter and then lower it as the record spins.
If you have a lid that does not have a hinge, store it somewhere until you are finished playing vinyl records. This type of cover should not be used on a turntable when playing a record because it can damage the vinyl.

2. Record Pat
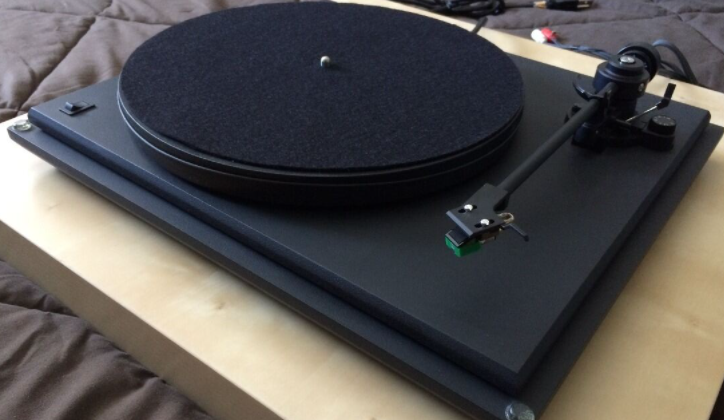
Some models include an extra dust cover designed specifically for the platter. These felt covers are designed to fit perfectly over the platter. Their function is to provide additional dust protection and to reduce vibration. Remove the cover and set it aside on a clean surface.
3. Keep Platter Sop
You're almost ready to begin playing music. But first, ensure that the platter is not spinning. Some models have a separate switch to start the platter spinning, while others begin spinning automatically when you lower the arm.
Check that the record is not moving and that the arm is still up and out of the way when you place it on the platter. Placing a record on the platter while it is spinning will scratch the surface.

4. Recording Placement
Place the record on the platter with care. Make sure the vinyl is only held along the edges.
Insert the spindle into the center of the platter and lower it until it rests on the platter. Touching the grooves of the record is not recommended because the grease from your fingers can interfere with the needle and degrade the sound quality.
This is why you should always keep only the record's edges. Even if you remove the record from the sleeves, try to avoid making contact with the surface of the record.

5. Moving The Arm
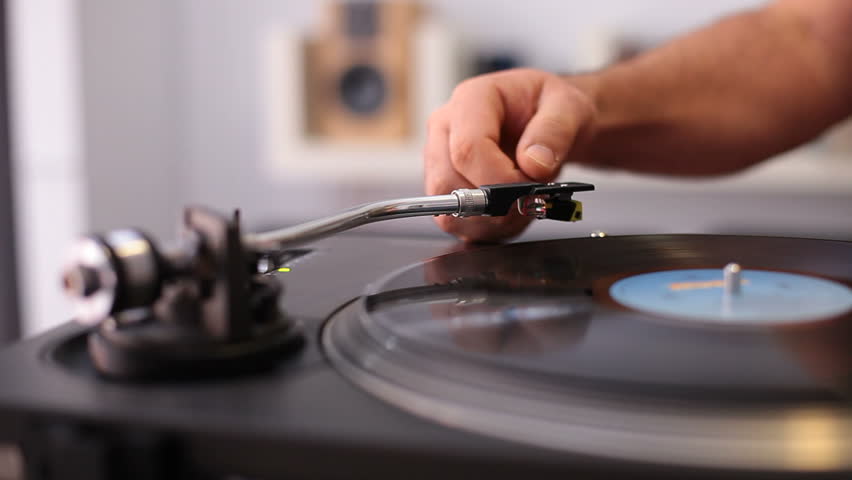
Next, lift the cartridge arm. Most models have a lift function. This feature allows you to flip the switch that raises the arm and places it automatically on the vinyl record.
Make sure the lift lever is up so that the arm does not accidentally fall directly onto the vinyl when you move it.
Place the arm over the first notch. The needle on the arm must be positioned directly over the outermost groove. You will notice three to four widely spaced grooves along the outer perimeter. These grooves indicate the position before the music begins.
Next, you will carefully lower the stylus onto the vinyl. Gently lower the arm onto the outer notch. The needle will engage the groove with a slight clicking sound. After that, the recording should begin to play.
6. Finish Vinyl
After playing your vinyl record, return the arm to its designated rest position. You can lift the arm manually or by activating the cue switch. If you have a fully automatic turntable, then the arm will return to its rest position on its own.
Make sure the arm has returned to its rest position before stopping the platter rotation. The arm should not be placed on vinyl, as this can put pressure on the grooves, which can cause serious damage.
